Hey guys, thank you so much to all the new visitors and especially new followers to the blog. Hope you all enjoy it.
So here it is part 1 of my DIY posts... I must say this is just a little teaser of what is about to come, watch this space, I am finalizing my experiments and soon as it's all finished (and hopefully, all good) I will be posting here.


The inspiration was Balmain...
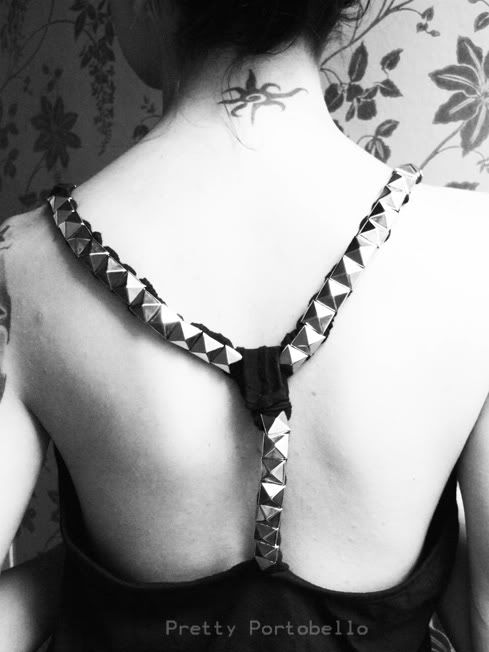
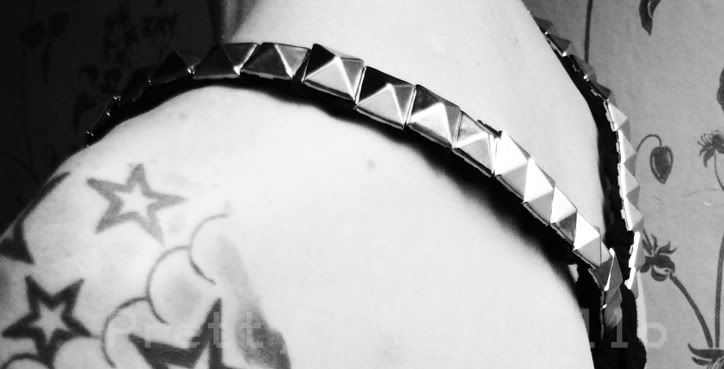
And this was a quick transformation to the back of the top. The top has elasticated straps and therefore they naturally twisted, I made an adjustment to that and applied the studs onto it.BEFORE BEFORE BEFORE | AFTER AFTER AFTER |
I kept simple on the front, just added a few studs.
BEFORE BEFORE BEFORE | AFTER  AFTER AFTER |
I think it turned out quite cute!
What do you guys think? Leave me a comment!
xoxox


